Attachments on Assets
Last updated
This article will teach you how to add an attachment to an Asset in your Org.
- From the top navigation bar, click on Assets.

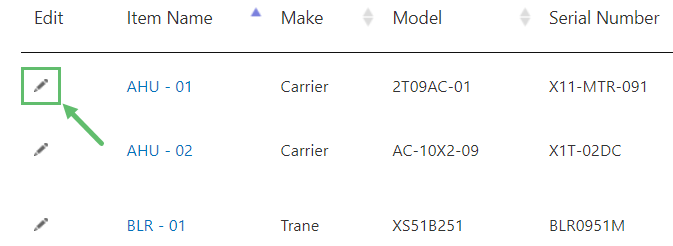
- Click on the Pencil icon under the Edit column of the desired Asset.
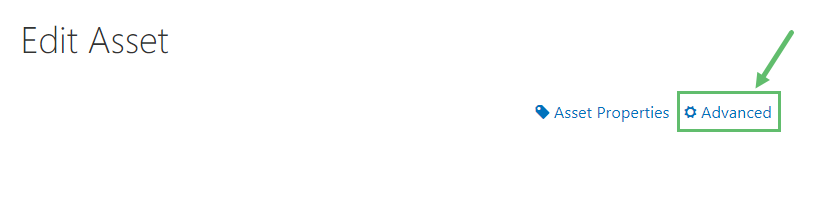
- Click on Advanced at the top right. Click on "OK" when a message appears.
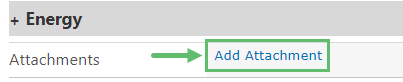
- Scroll down until you see the Attachments heading. Click on Add Attachment.
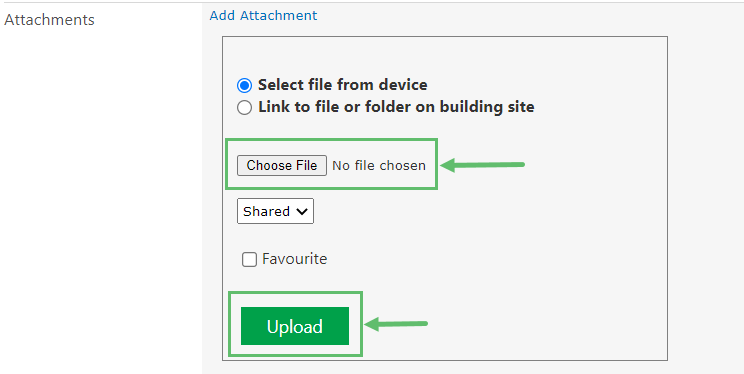
- Click on Choose File and select the file to be uploaded. Click on Upload when done. The page will automatically refresh and your file will appear.
- Click on Save.
Managing the Sharing Settings of an Attachment
- After you have selected the attachment, you have the option to manage it as Private, Shared or Public.
A - Private
It only allows the members of the Organization to view the Attachments.
B - Shared
It allows all building members (Users who are signed in from all the Organization), plus Users who were invited directly to the Building to view the Attachments.
C - Public
It allows an Anonymous User to view the Attachments as a Public link after scanning the QR Code.
D - Favourite
Checking Attachments as Favourite will let you view them without opening. You can also view them using the Service Twin® App by clicking on View More Info (Online) under Asset Information.